2023. 2. 27. 12:00ㆍMOB.DEV/Flutter
안녕하세요.
이번 포스팅에서는 Flutter에서 버튼 크기를 변경하는 방법에 대해서 알아보겠습니다.
먼저 Flutter의 버튼들에 대해서 알아보겠습니다.
Flutter의 버튼은 TextButton, FilledButton, ElevatedButton, IconButton, MaterialButton, BackButton ... 등이 있습니다.
여기서는 TextButton, FilledButton, ElevatedButton의 크기를 변경하는 방법에 대해서 알아보겠습니다.
먼저 버튼의 크기를 변경하는 방법에 대해서 알아보겠습니다.
간단하게 Button을 SizedBox 혹은 Container와 같은 크기를 가진 Widget으로 감싸주면 됩니다.
기본 FilledButton을 추가해서 어떻게 보이는지 알아보겠습니다.
FilledButton(
  onPressed: () {},
  child: Text('Click Button'),
)
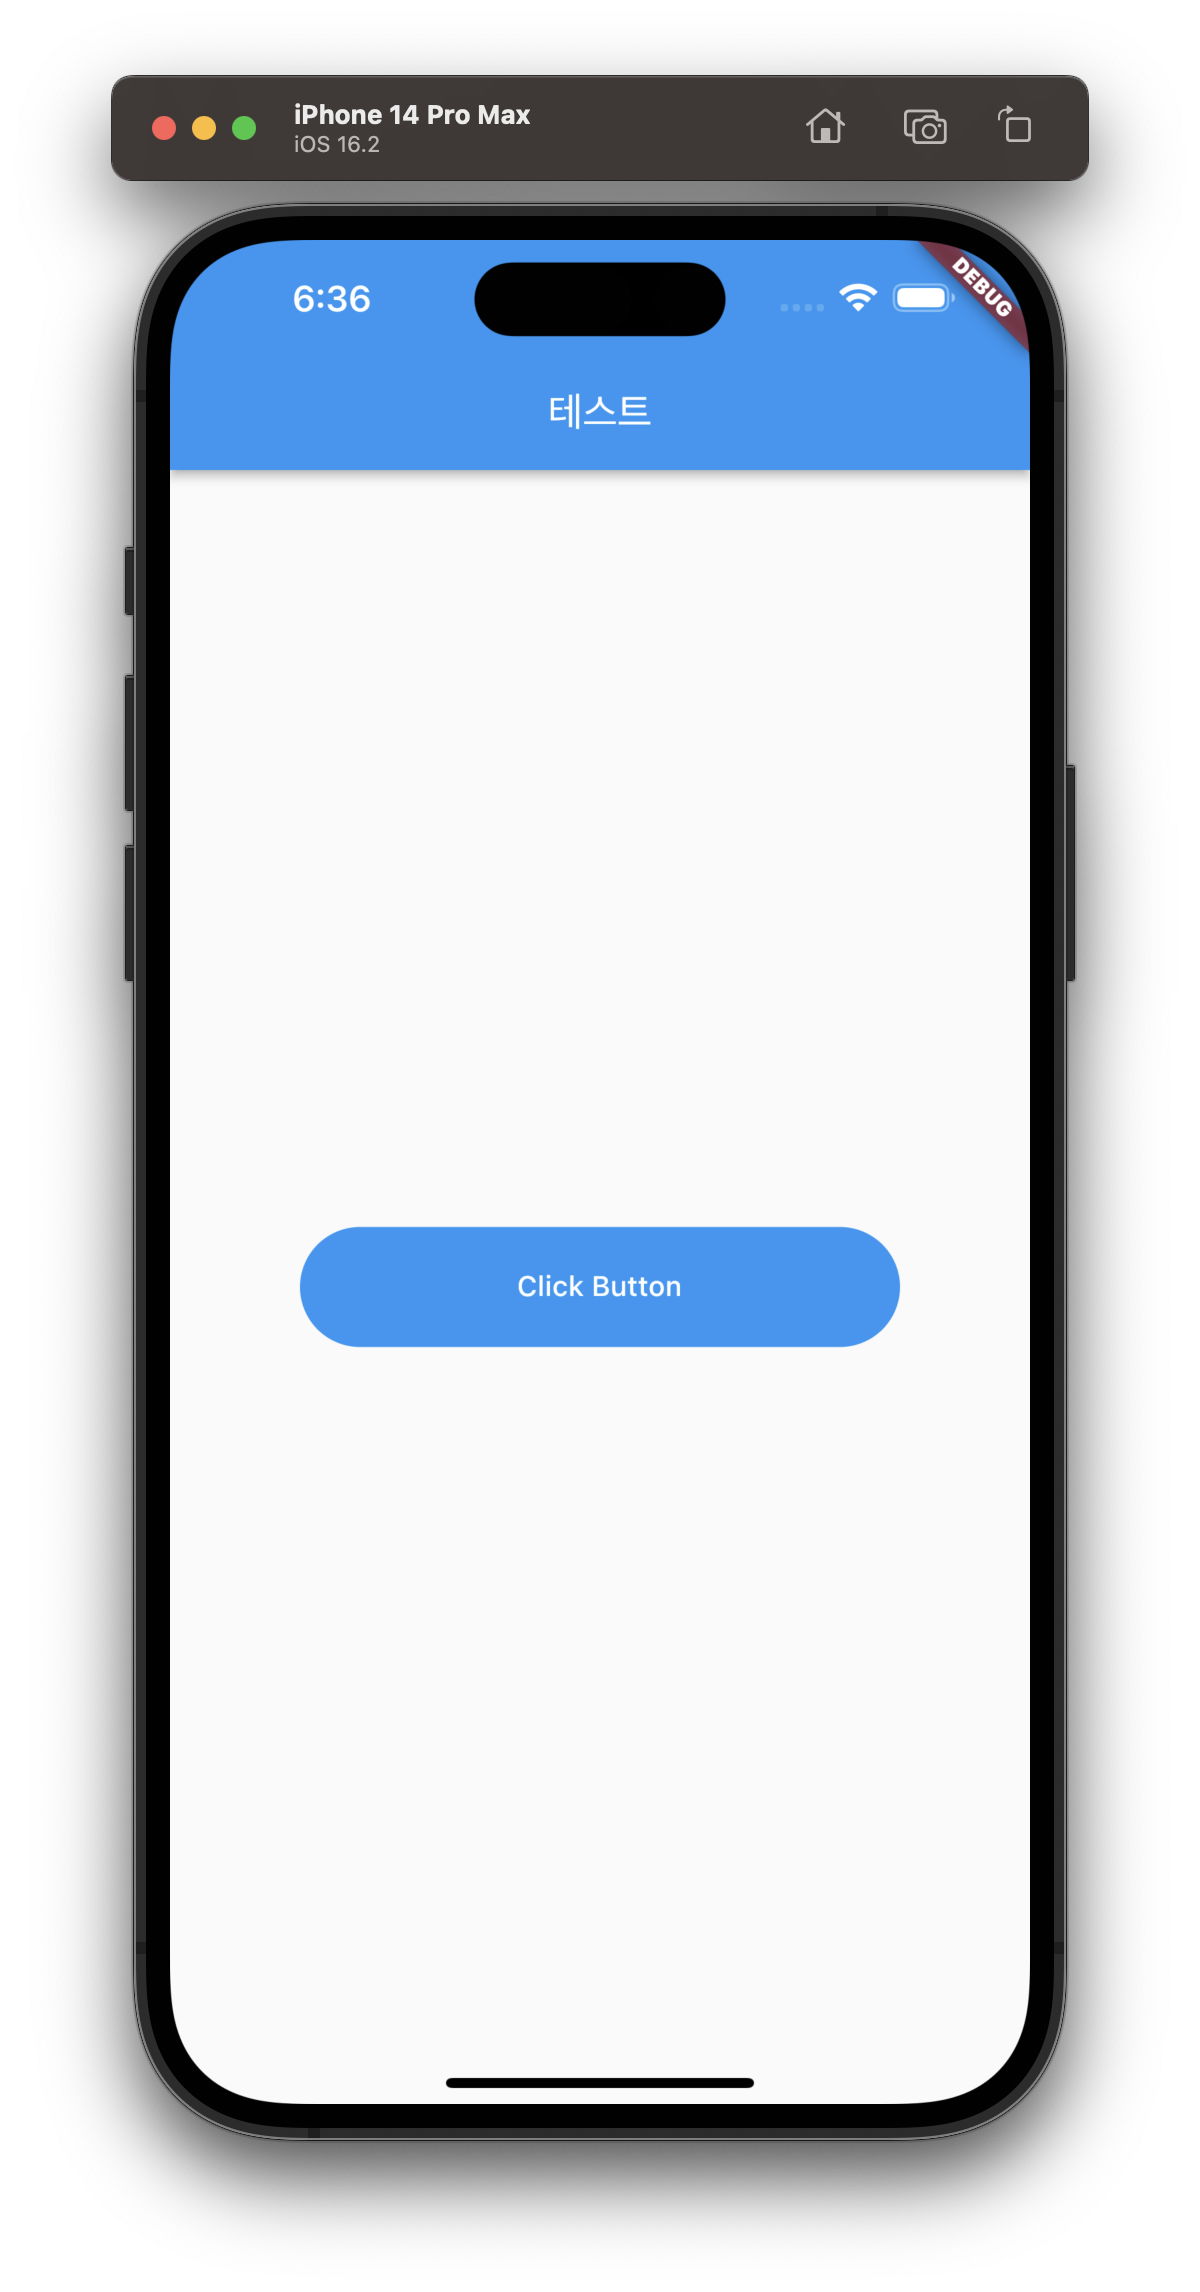
이제 버튼의 가로 300, 세로 60으로 변경해보겠습니다.
SizedBox( // SizedBox 대신 Container를 사용 가능
  width: 300,
  height: 60,
  child: FilledButton(
    onPressed: () {},
    child: Text('Click Button'),
  ),
)
위의 코드 처럼 FilledButton을 SizedBox 혹은 Container로 감싸고 실행을 하면 아래와 같이 보이게 됩니다.
추가로 버튼의 크기를 변경하는 방법으로 padding을 변경하는 방법입니다.
다른 Widget들은 padding에 EdgeInsets를 바로 추가를 하면 되지만 FilledButton, TextButton, ElevatedButton에 EdgeInsets를 바로 넣으면 아래와 같이 오류가 발생합니다.
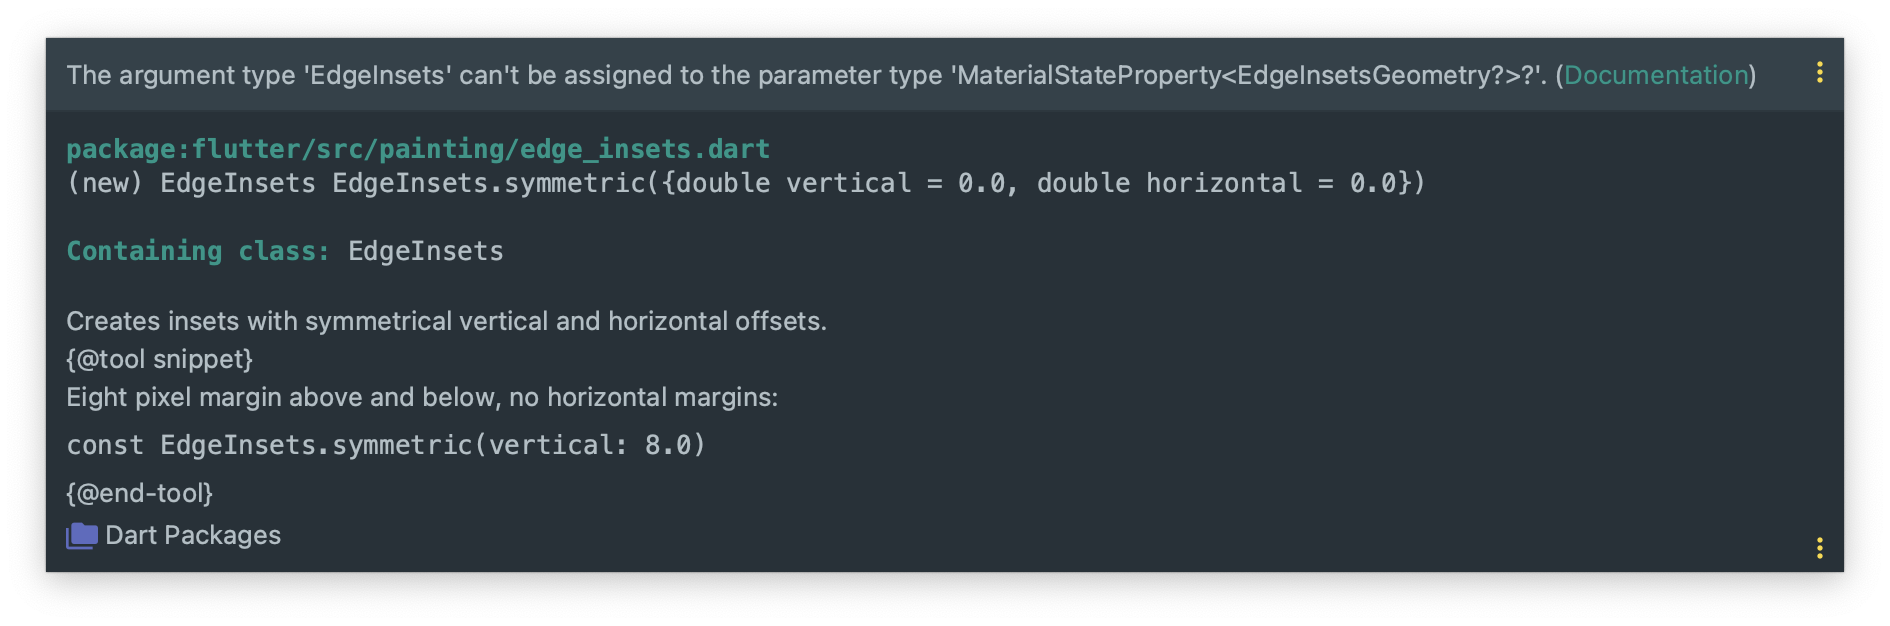
EdgeInsets가 MaterialStateProperty<EdgeInsetsGeometry?>?에 맞지 않다고 합니다.
방법은 EdgeInsets을 MaterialStatePropery에 맞게 추가를 해주시면 됩니다.
FilledButton(
  onPressed: () {},
  style: ButtonStyle(
    padding: MaterialStateProperty.all<EdgeInsets>(
      EdgeInsets.symmetric(horizontal: 48, vertical: 24),
    ),
  ),
  child: Text('Click Button'),
)
위와 같이 코드를 작성하고 실행을 하면 아래와 같이 보이게 됩니다.

추가로 padding을 변경할 때 위 방법이 아닌 다른 방법으로 해당 버튼의 styleFrom을 이용해서 변경하는 방법입니다.
styleFrom을 이용할 경우 위에 코드와 같이 MaterialStateProperty로 변환을 해줄 필요가 없어집니다.
FilledButton(
  onPressed: () {},
  style: FilledButton.styleFrom(
    padding: EdgeInsets.symmetric(horizontal: 48, vertical: 24),
  ),
  child: Text('Click Button'),
)
위와 같이 코드를 작성하고 실행을 해보면 이전과 똑같을 결과를 볼수 있습니다.
여기까지 부족한 글 읽어주셔서 감사합니다.
제가 잘못 작성한 내용이나 부족한 부분이 있다면 알려주시면 보완 수정하겠습니다.
감사합니다💛
'MOB.DEV > Flutter' 카테고리의 다른 글
| Flutter 버튼 배경색 변경하기 (0) | 2023.03.01 |
|---|---|
| Flutter 버튼 Radius 변경하기 (0) | 2023.02.28 |
| Flutter에 BottomNavigationBar 추가하기 (0) | 2023.02.26 |
| Flutter 안드로이드 AppBar에서 타이틀 중앙 정렬하기 (0) | 2023.02.24 |
| Flutter에서 AspectRatio를 이용해서 이미지 비율에 맞게 보여주기 (0) | 2023.02.23 |